
Should have some more in the next day or so depending what sort of time i have free,
Aviaonics bay is now in, Resin Cockpit cut to shape.. Just need to start painting them now!
Did you know that registration to Fighter Control is completely free and brings you lots of added features? Find out more....
Previous Model Comp Builds - Gallery
Moderator: Flyingmonster
-
Flyingmonster
- Moderator
- Posts: 13588
- Joined: Sun Oct 04, 2009 4:16 pm
- Location: Skipton, North Yorkshire
Re: Zvezda 1/144 TU 160 'Blackjack'
Its on its way but just taking my time  I will get some picks up on the Weekend. Hopefully get the Bombay all constructed etc
  By the time I finish it could be a MK 2 with bits of Mk1 here and there
Cheers
Boo boo (aka Jamie)
'The first time I ever saw a jet, I shot it down!' - Yeager
Boo boo (aka Jamie)
'The first time I ever saw a jet, I shot it down!' - Yeager
-
MarkG
Re: Zvezda 1/144 TU 160 'Blackjack'
Who do you think you are, me??Flyingmonster wrote:Its on its way but just taking my time
-
Flyingmonster
- Moderator
- Posts: 13588
- Joined: Sun Oct 04, 2009 4:16 pm
- Location: Skipton, North Yorkshire
Re: Zvezda 1/144 TU 160 'Blackjack'
Hahaha we can be a pair - Tom and Taz!Beer Monster wrote:Who do you think you are, me??Flyingmonster wrote:Its on its way but just taking my time
Cheers
Boo boo (aka Jamie)
'The first time I ever saw a jet, I shot it down!' - Yeager
Boo boo (aka Jamie)
'The first time I ever saw a jet, I shot it down!' - Yeager

Re: Monogram B-17G 1/48th
Another little update,
The main assembly is now complete and I'm now fairly happy with the paint finnish, so I have applied a coat of Klear and started to apply some decals
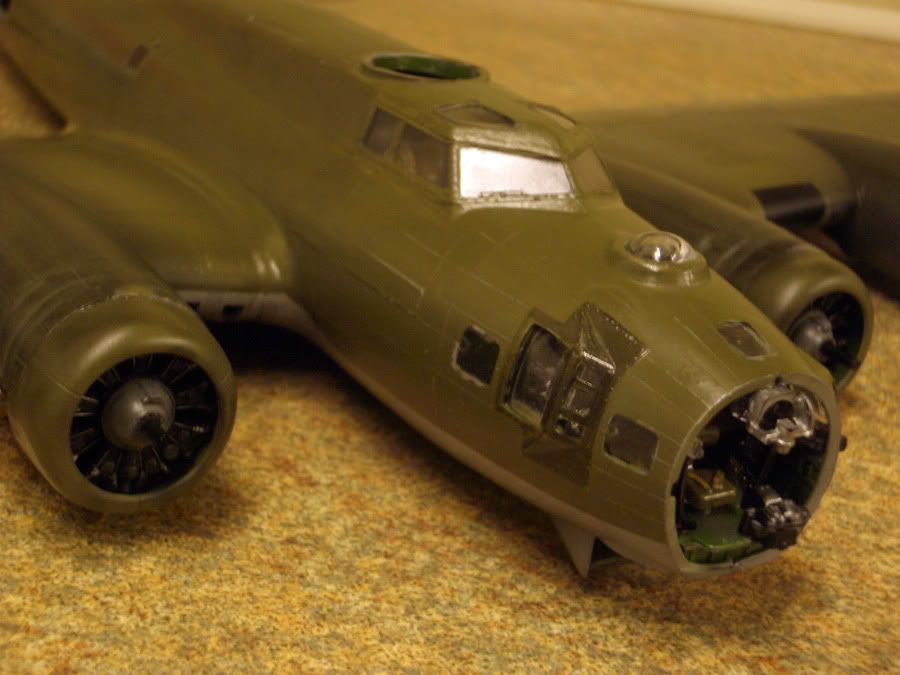
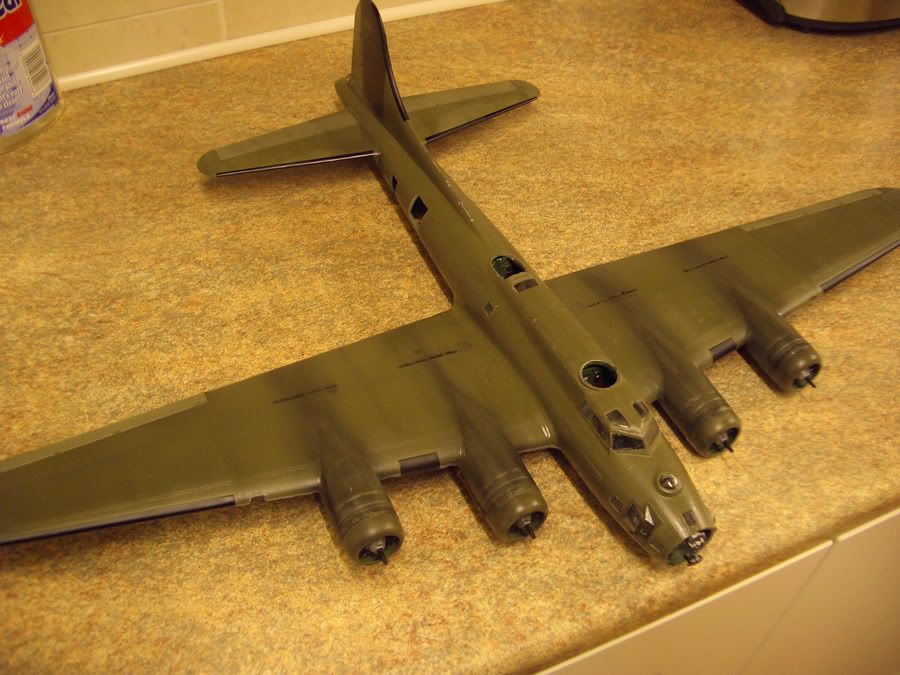
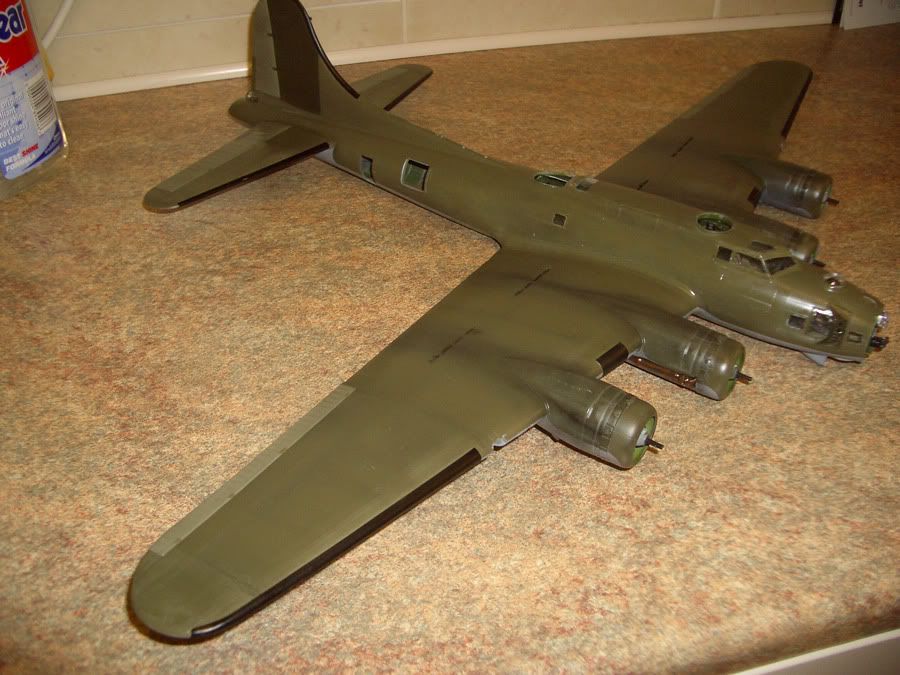
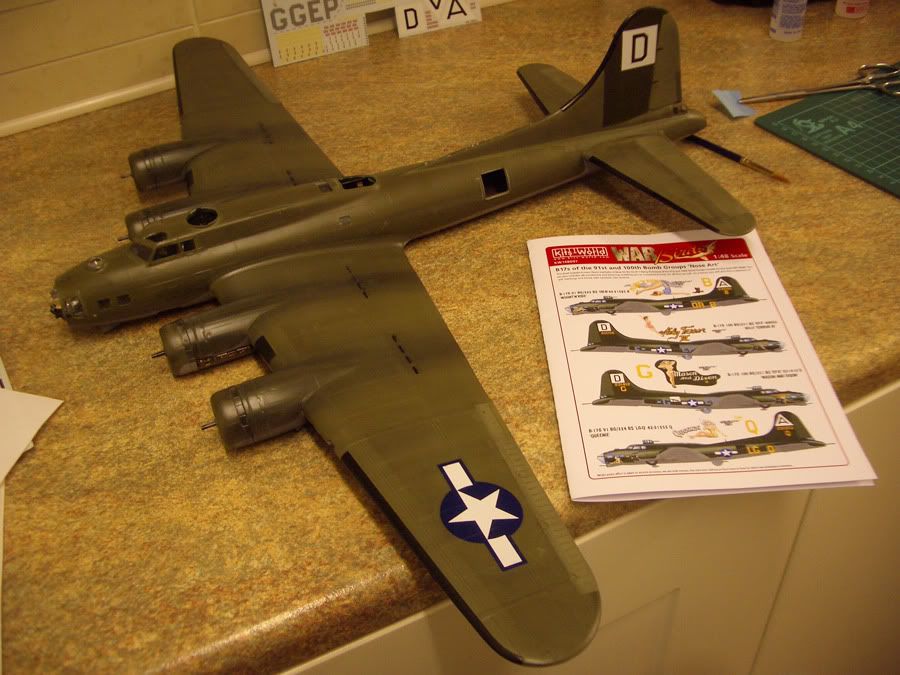
Slowly but surely its starting to come together
Cheers
Stuart.
The main assembly is now complete and I'm now fairly happy with the paint finnish, so I have applied a coat of Klear and started to apply some decals
Slowly but surely its starting to come together
Cheers
Stuart.
-
Flyingmonster
- Moderator
- Posts: 13588
- Joined: Sun Oct 04, 2009 4:16 pm
- Location: Skipton, North Yorkshire
Re: Monogram B-17G 1/48th
Wow!
Cheers
Boo boo (aka Jamie)
'The first time I ever saw a jet, I shot it down!' - Yeager
Boo boo (aka Jamie)
'The first time I ever saw a jet, I shot it down!' - Yeager
Re: Monogram B-17G 1/48th
Cheers guys, its been a huge learning curve, and has not been without the odd disaster here and there, but so far I have really enjoyed building it. 
Cheers again
Stuart.
Cheers again
Stuart.

Re: Monogram B-17G 1/48th
That fortress is looking darn great 
Stu
Stu
BECAUSE TYPING IN LOWER CASE WOULD BE EASY.............
-
MarkG
Re: Monogram B-17G 1/48th
Tell me about it mate, I think we all suffer with those in the model community!!GreenBat wrote:has not been without the odd disaster here and there
Cheers again
Stuart.
-
Flyingmonster
- Moderator
- Posts: 13588
- Joined: Sun Oct 04, 2009 4:16 pm
- Location: Skipton, North Yorkshire
Re: Monogram B-17G 1/48th
Your not joking there dude!Beer Monster wrote:Tell me about it mate, I think we all suffer with those in the model community!!GreenBat wrote:has not been without the odd disaster here and there
Cheers again
Stuart.
Cheers
Boo boo (aka Jamie)
'The first time I ever saw a jet, I shot it down!' - Yeager
Boo boo (aka Jamie)
'The first time I ever saw a jet, I shot it down!' - Yeager
-
jamesv9820
- Posts: 737
- Joined: Wed Oct 07, 2009 7:31 pm
Re: Hawg Heaven???? A-10A Thunderbolt II
Guys,
A quick update as of last night; photos to follow this week:
The main element of the plane is now together; fuselage joined with Aires cockpit completed inside, weighted nose, avionics panel opened up.
The wings are now on (there is a MASSIVE gap int he wing root so careful filler is required here to fill the gaps )
Pics will follow shortly, I do have to say that I am really disappointed with the fit of this kit. It has not been the best and it has fought all the way so far. I am not sure if it is because of the fit of the cockpit inside but then again the wing roots were just as bad. Hope this one can be pulled around and look good in time.
Anyway, work calls, better get a move on!
-
jamesv9820
- Posts: 737
- Joined: Wed Oct 07, 2009 7:31 pm
Re: Hawg Heaven???? A-10A Thunderbolt II
Hi Guys,
Just a photo update tonight. I am going to try and explain as much as I can here as in the lst week I have not had the camera out to take photos as I go along.
The airframe itself is nearly ready for priming and has been a to do so far. I am not sure if it is because of the for of the Airies cockpit but the nose just does not seem to fully line up. A bit of cyno-acrylic glue and activator as needed to fuse this into final position and then a little bit of filler needed around the nose to fill the existing gaps. I am not sure what filler all of you guys use but I use the old Squadron Green which is easily sand able after the filler has fully cured. For smaller gaps I use PVA glue and wipe the excess off with my finger. This sets quickly and is also flexible so if you have small gaps, give it a try if you have not already!
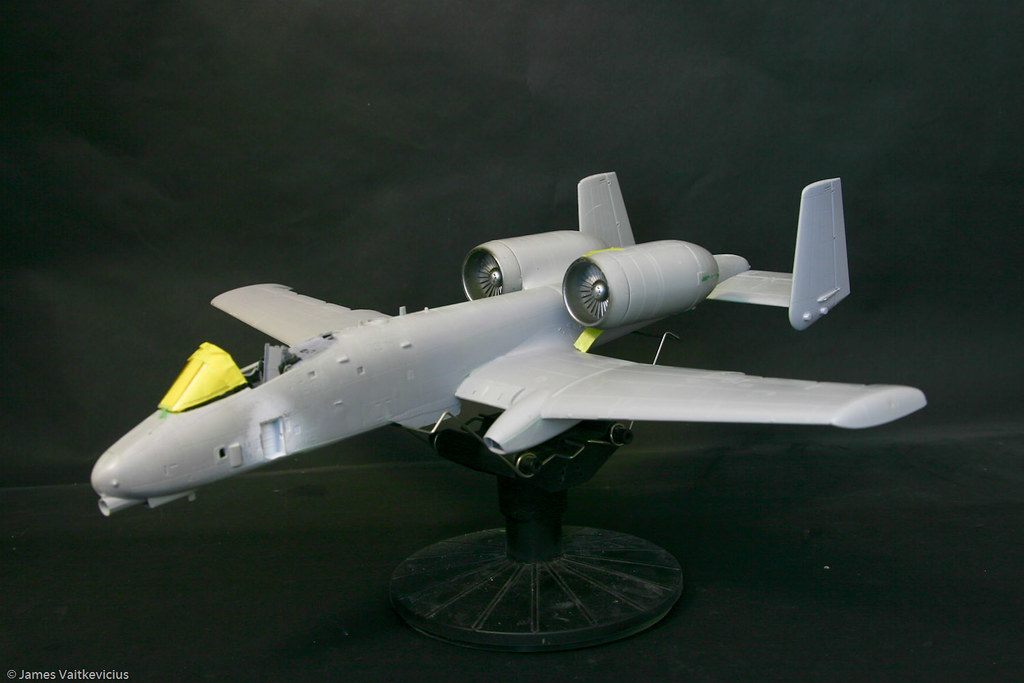
This is where we are as of tonight. Not the front canopy is only tacked on for the moment and I will fully sort this out prior to starting the paintwork.
First up.. the Resin avionics bay
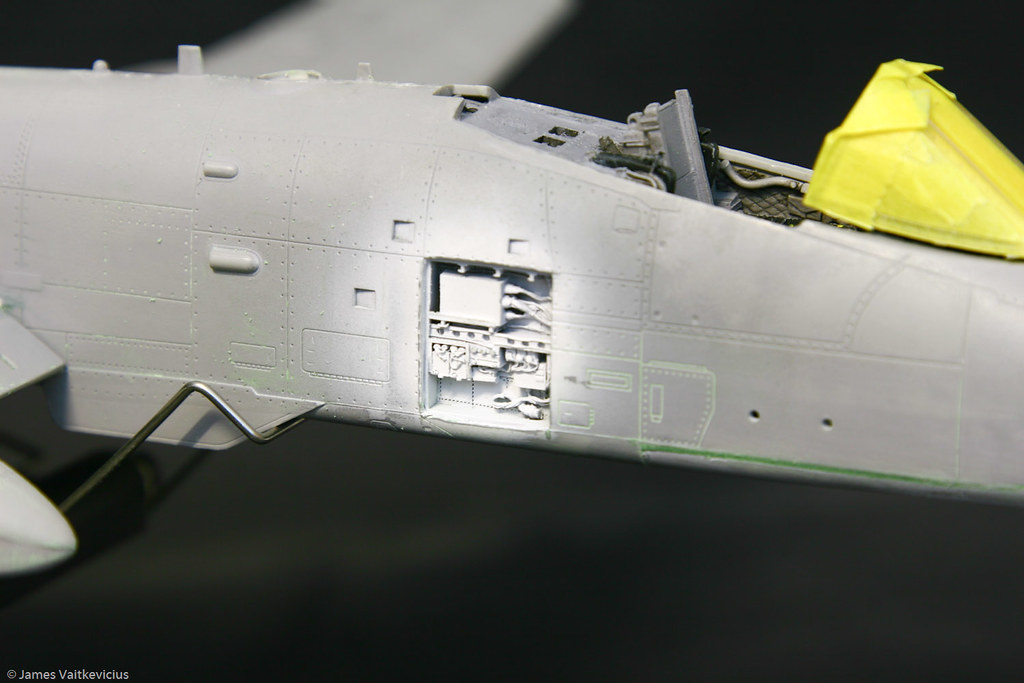
This was a dream to install. I have not shown how this was carried out but will endeavour to describe how. The bay itself is actually marked via a panel on the side of the airframe and the resin add on is a little wider than this so you can easily cut the panel out. To do this I used a pin vice and a 1mm drill bit to mark the edges of the panel and then proceeded to drill around the edge of the panel 1mm apart. Once this has been completed you can use your scalpel to remove the excess to remove the rest of the panel. This gives great control than using a scriber or a mini saw and leaves less chance of you ruining the side of your model before you even start! The panel itself has been primed in Tamiya XF-2 (White) and is awaiting a final coat of semi gloss white (In my case Gunze Sanyo H316 Insignia White). A final coat of MIG wash will be added to extenuate the detail that this brings. The photo also shows a snippet of the cockpit wall which has been painted and washed with MIG wash which has brought up the detail. You will also see in the photo a little bit of squadron green that was needed to complete the bottom section of the fuselage.
Engines
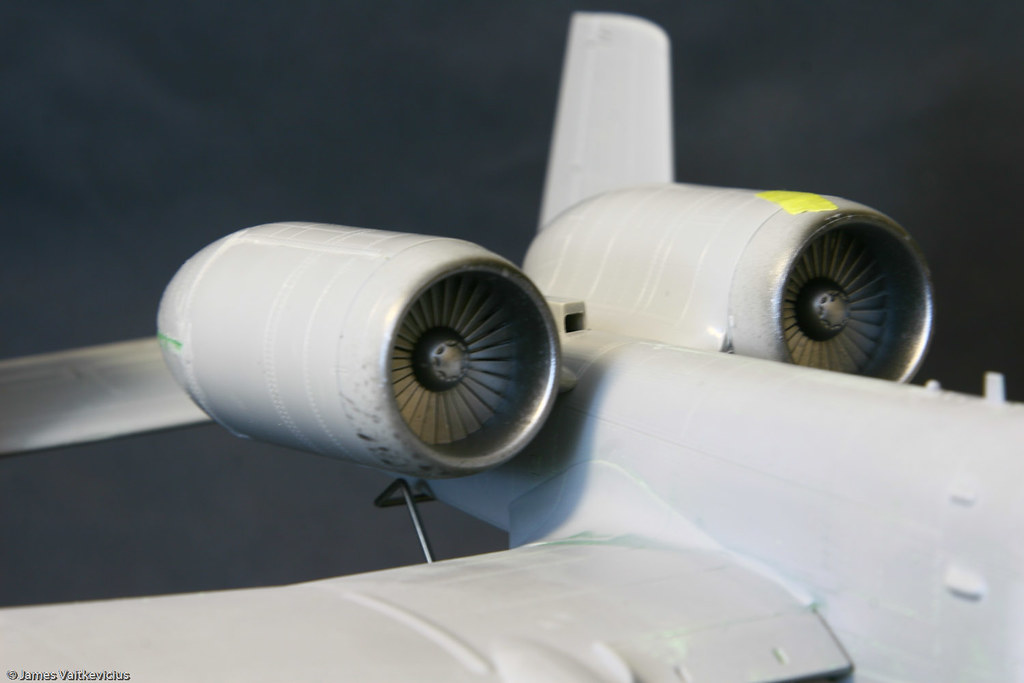
I have included this photo to illustrate the use of Alclad II Aluminium on the turbine blades. The picture is a little blurred but it shows a nice finish to the blades. Once the internal colour has been added to these, the metallic areas will be dulled with Tamiya Smoke to make them look more worn
Cockpit

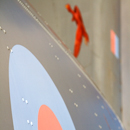
Not the best photo but hopefully you can see the detail has been picked out with Red, Yellow and two bits of blue for the dials (I might change this to clear orange after seeing the photos!) The cockpit itself has a base coat of Vallejo 050 (Grey) added, the panels have been painted in Tamiya XF-69 (NATO Black) and a final coat of wash was added to pick up the detail in the tub. I also need to fill around the front console as this is a resin add on. This will be improved a bit more before the model is finished.
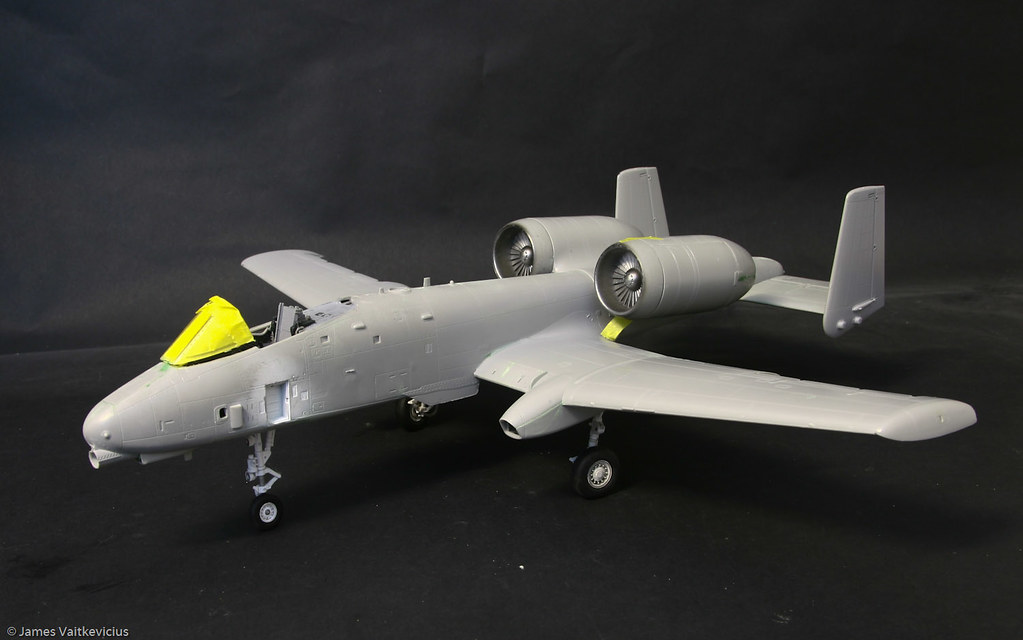
Finally just a few pictures of the aircraft sitting on her legs.

More to follow soon
James
Just a photo update tonight. I am going to try and explain as much as I can here as in the lst week I have not had the camera out to take photos as I go along.
The airframe itself is nearly ready for priming and has been a
This is where we are as of tonight. Not the front canopy is only tacked on for the moment and I will fully sort this out prior to starting the paintwork.
First up.. the Resin avionics bay
This was a dream to install. I have not shown how this was carried out but will endeavour to describe how. The bay itself is actually marked via a panel on the side of the airframe and the resin add on is a little wider than this so you can easily cut the panel out. To do this I used a pin vice and a 1mm drill bit to mark the edges of the panel and then proceeded to drill around the edge of the panel 1mm apart. Once this has been completed you can use your scalpel to remove the excess to remove the rest of the panel. This gives great control than using a scriber or a mini saw and leaves less chance of you ruining the side of your model before you even start! The panel itself has been primed in Tamiya XF-2 (White) and is awaiting a final coat of semi gloss white (In my case Gunze Sanyo H316 Insignia White). A final coat of MIG wash will be added to extenuate the detail that this brings. The photo also shows a snippet of the cockpit wall which has been painted and washed with MIG wash which has brought up the detail. You will also see in the photo a little bit of squadron green that was needed to complete the bottom section of the fuselage.
Engines
I have included this photo to illustrate the use of Alclad II Aluminium on the turbine blades. The picture is a little blurred but it shows a nice finish to the blades. Once the internal colour has been added to these, the metallic areas will be dulled with Tamiya Smoke to make them look more worn
Cockpit
Not the best photo but hopefully you can see the detail has been picked out with Red, Yellow and two bits of blue for the dials (I might change this to clear orange after seeing the photos!) The cockpit itself has a base coat of Vallejo 050 (Grey) added, the panels have been painted in Tamiya XF-69 (NATO Black) and a final coat of wash was added to pick up the detail in the tub. I also need to fill around the front console as this is a resin add on. This will be improved a bit more before the model is finished.
Finally just a few pictures of the aircraft sitting on her legs.
More to follow soon
James
-
markmarples
Re: Hawg Heaven???? A-10A Thunderbolt II
that looks fantastic mate what did you wash the pylons with?
-
jamesv9820
- Posts: 737
- Joined: Wed Oct 07, 2009 7:31 pm
Re: Hawg Heaven???? A-10A Thunderbolt II
Mark,markmarples wrote:that looks fantastic mate what did you wash the pylons with?
It is MIG wash, Dark Wash.... £7.50 from little cars or a little cheaper from Relish MOdels. Guarentee when you use this you will never use Promodeller Wash ever again!
-
markmarples
Re: Hawg Heaven???? A-10A Thunderbolt II
thanks i have an order to do when the postal service starts here again so ill order some
-
Flyingmonster
- Moderator
- Posts: 13588
- Joined: Sun Oct 04, 2009 4:16 pm
- Location: Skipton, North Yorkshire
Re: Hawg Heaven???? A-10A Thunderbolt II
Just caugtht up with this  Looks superb mate!
Cheers
Boo boo (aka Jamie)
'The first time I ever saw a jet, I shot it down!' - Yeager
Boo boo (aka Jamie)
'The first time I ever saw a jet, I shot it down!' - Yeager
-
Ben Montgomery
- Moderator
- Posts: 8156
- Joined: Fri Oct 02, 2009 4:16 pm
- Location: Cambridge
- Contact:
Re: Revell 1/48 B-1B Lancer - Finally Updated!
Another update to come over this weekend - got the cockpit section sealed, seats made, etch added and all complete.
Hoping to get a good start on the main gear bay tonight as well
Hoping to get a good start on the main gear bay tonight as well
-
MarkG
Re: Revell 1/48 B-1B Lancer - Finally Updated!
Mate, you sound like meBen Montgomery wrote:Another update to come over this weekend
Looks darn good so far, having seen that exhaust nozzle set, I think I'll get that for mine [when] I build it
Who is online
Users browsing this forum: No registered users and 26 guests