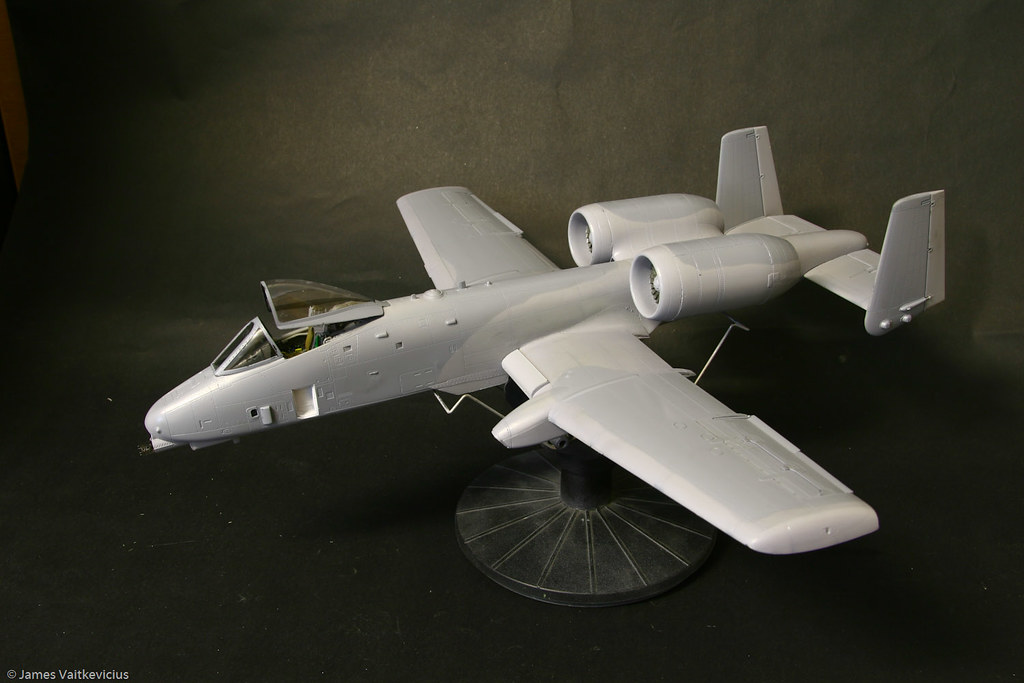
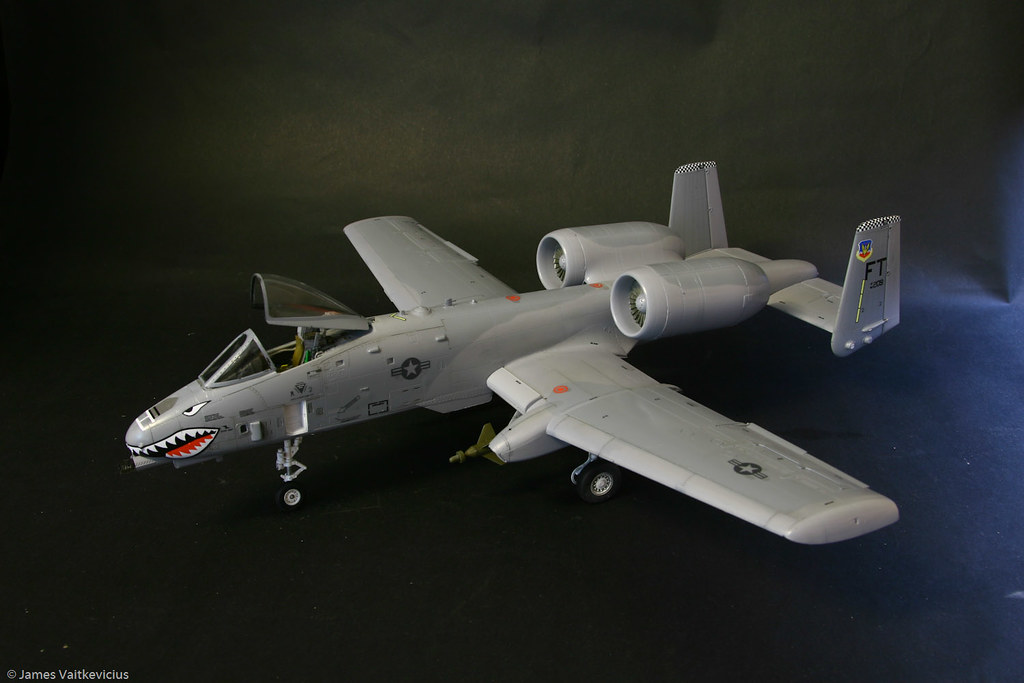
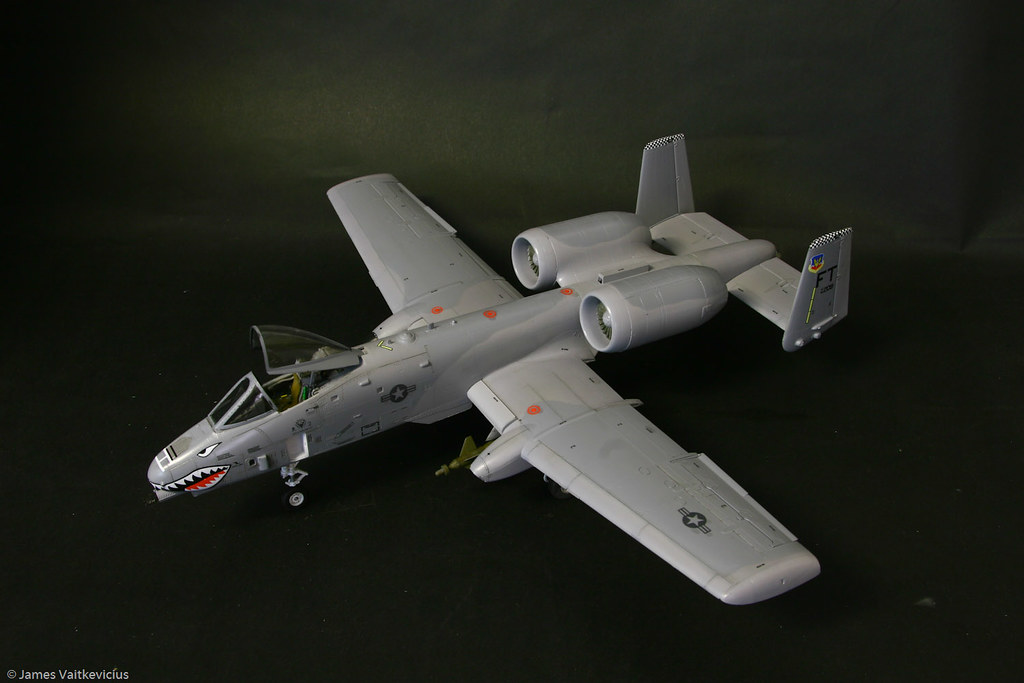
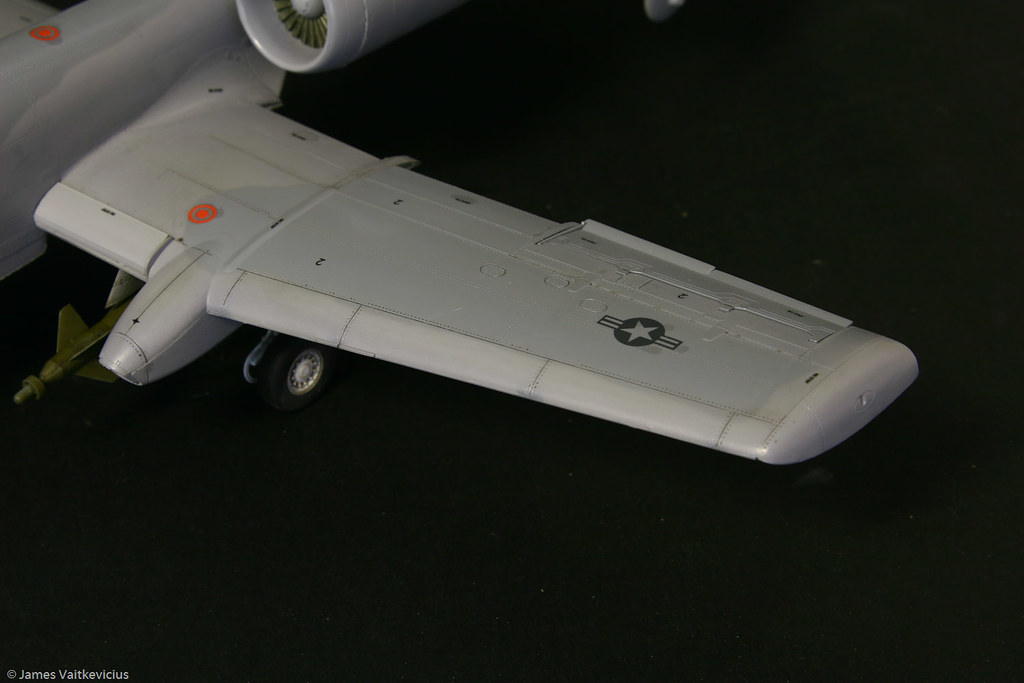
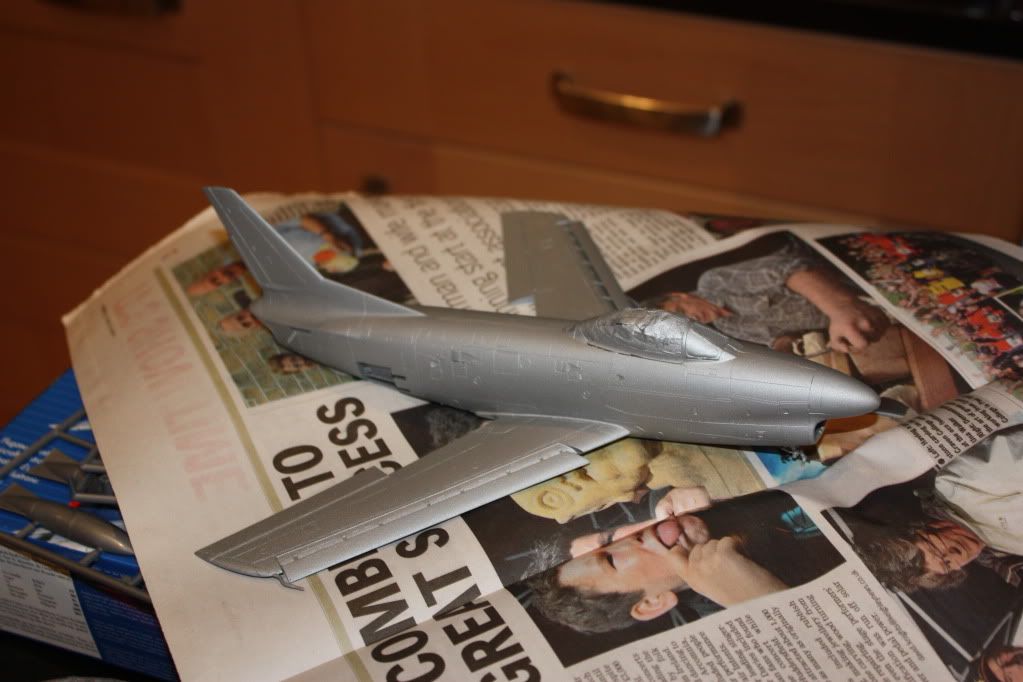
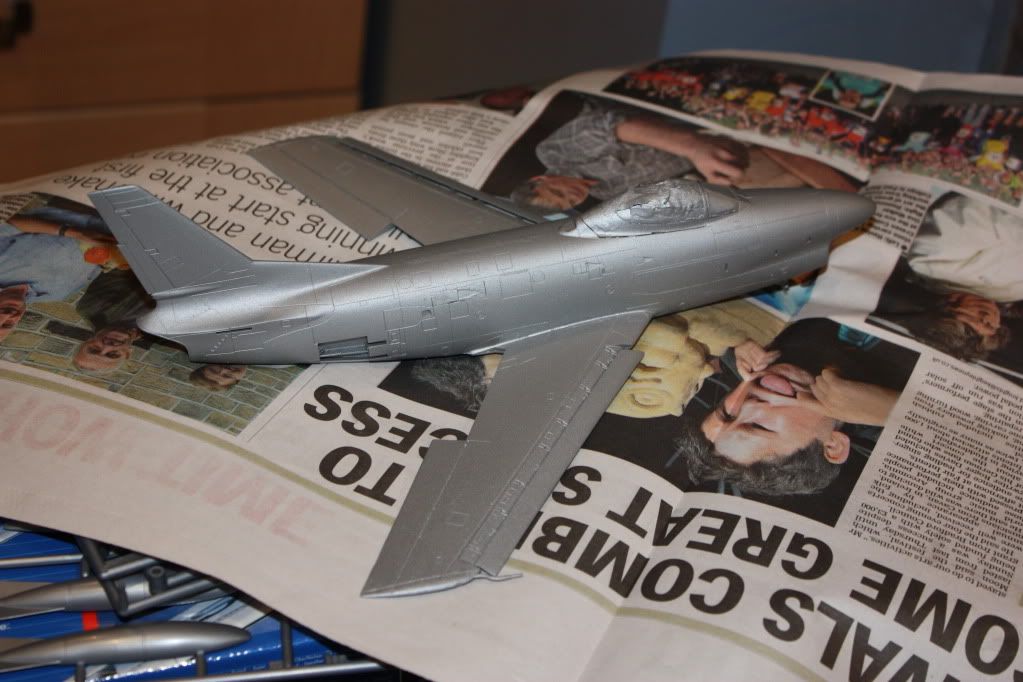
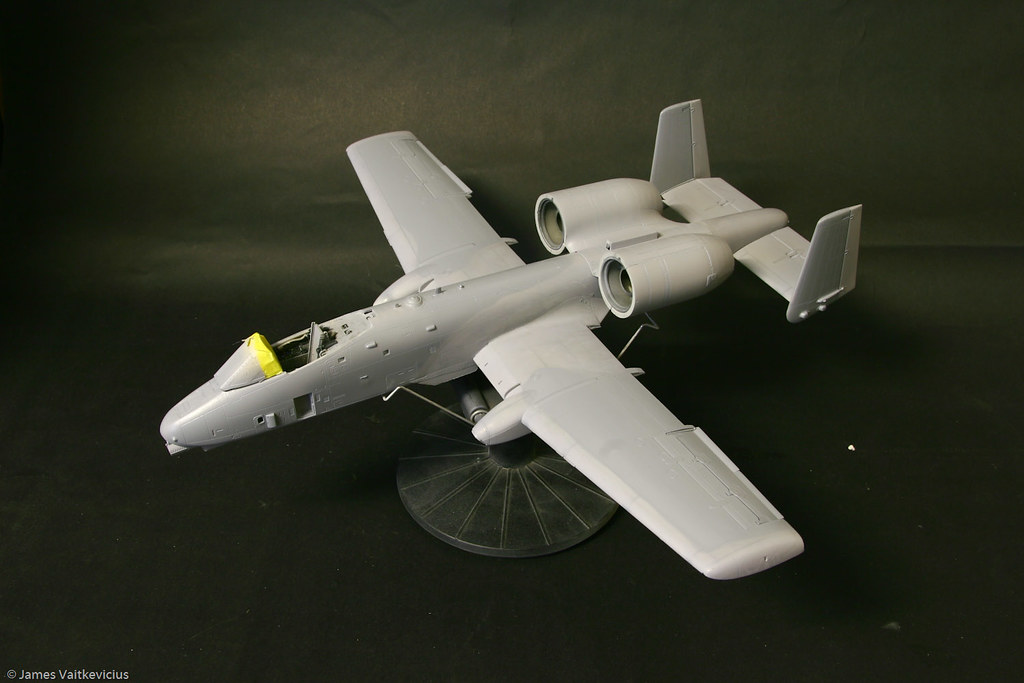
Just a small update today. Following the application of the first light coat H308 (FS36375) my attention was now drawn to the second and slightly darker grey used on this camouflage scheme. The second colour I will be using is FS36320 (H307) which is only slightly darker than the previous colour.
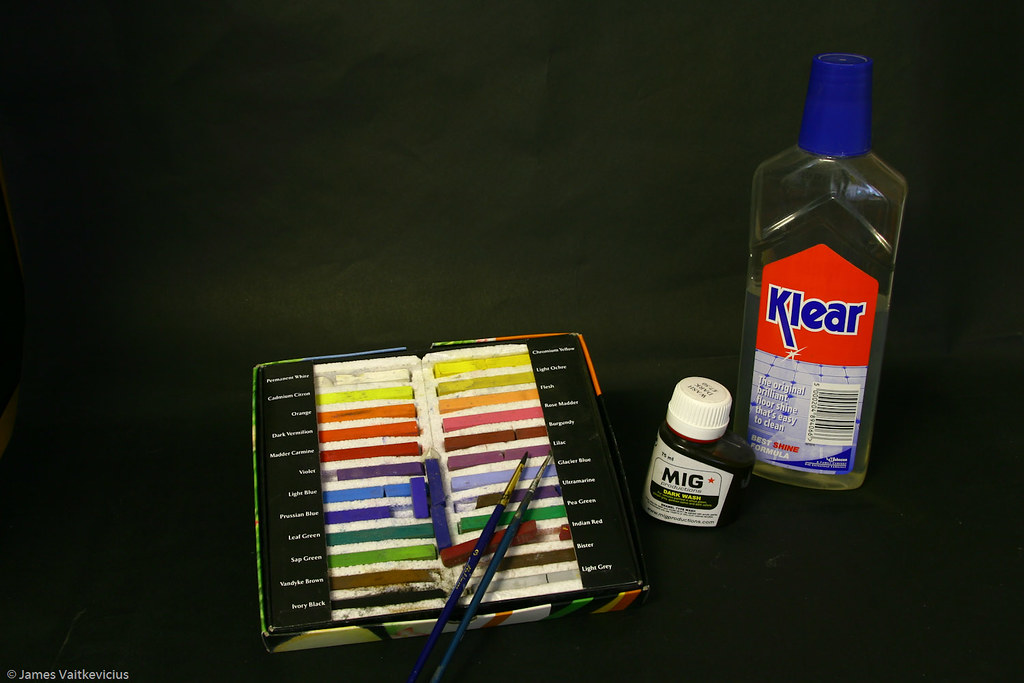
Before any spraying takes place, the surface is prepared with a couple of light coats of Johnsons Klear furniture polish. This acts as a varnish sealing the pain underneath to avoid any side affects that could be associated when (and speaking from personal experience) Blue-Tack and Humbrol Maskol go anywhere near my aircraft!
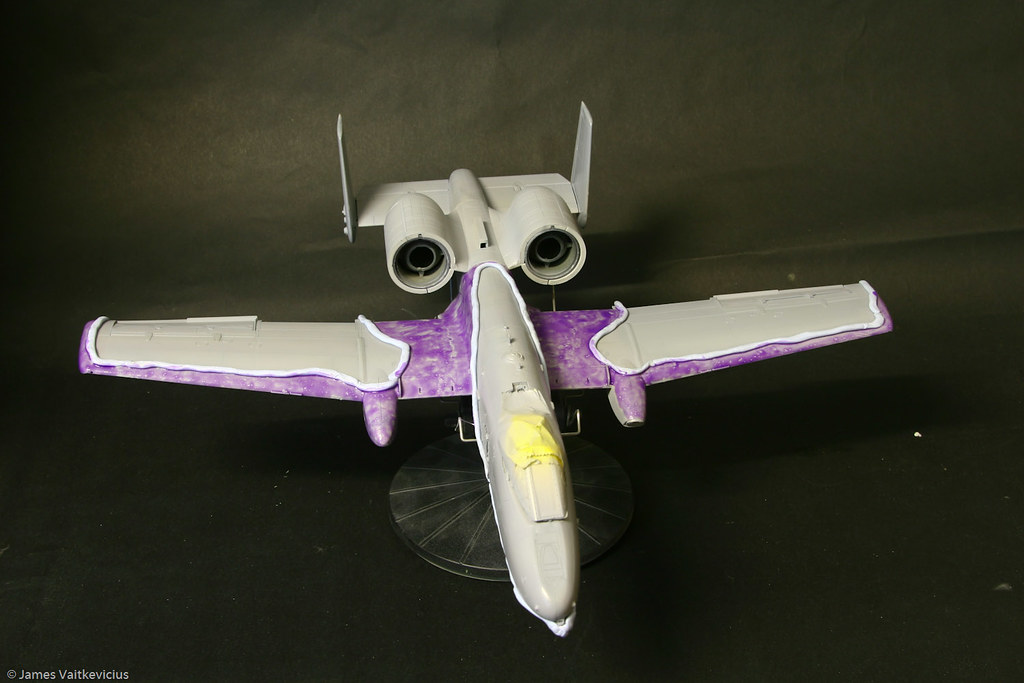
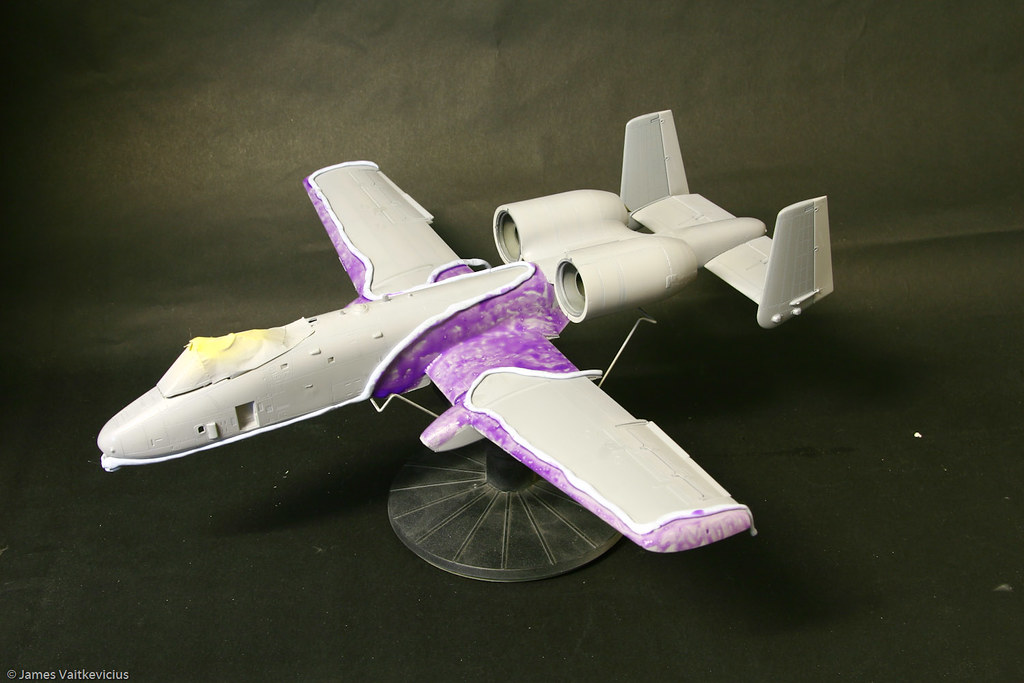
The Blue Tack is rolled into thin sausages and placed into the desired shape to act as a demarcation in preparation for spraying. The Maskol is added at this point and left for 30 minutes or so to dry. I have found in previous models that if you play around with the model while this is drying, it somehow peels the paint off underneath!
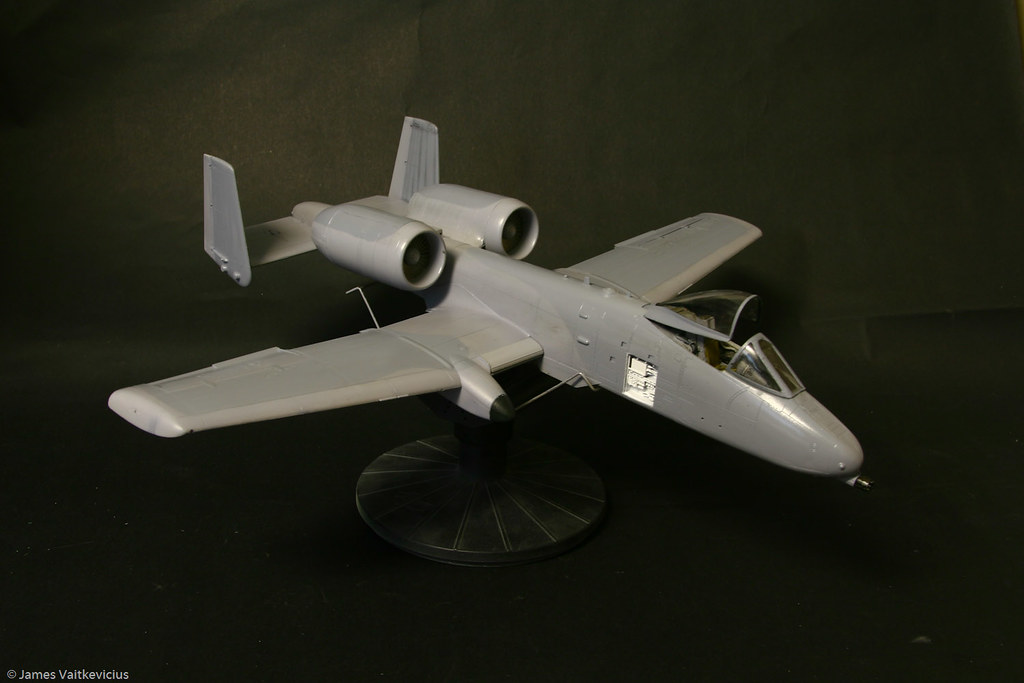
The model is now sprayed in H307 and then the Blue Tack and Maskol removed…
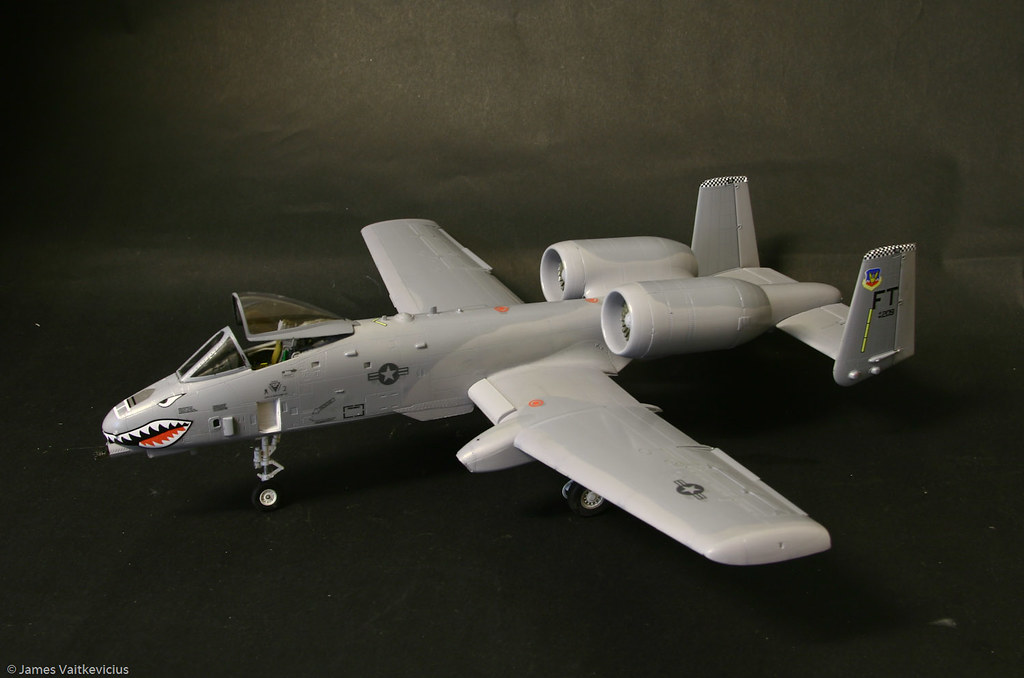
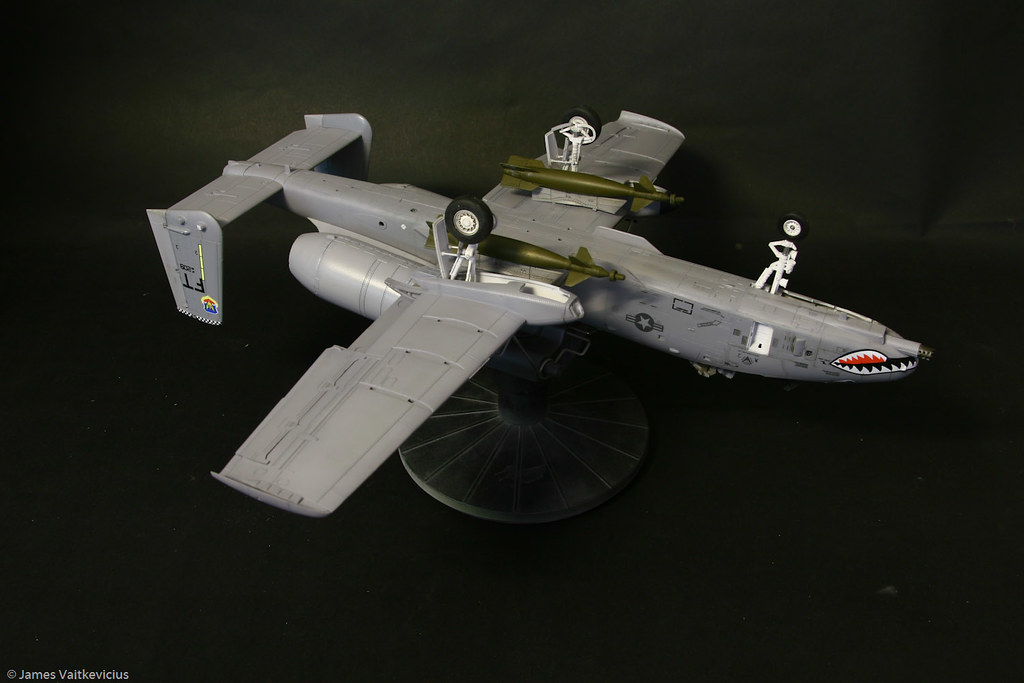
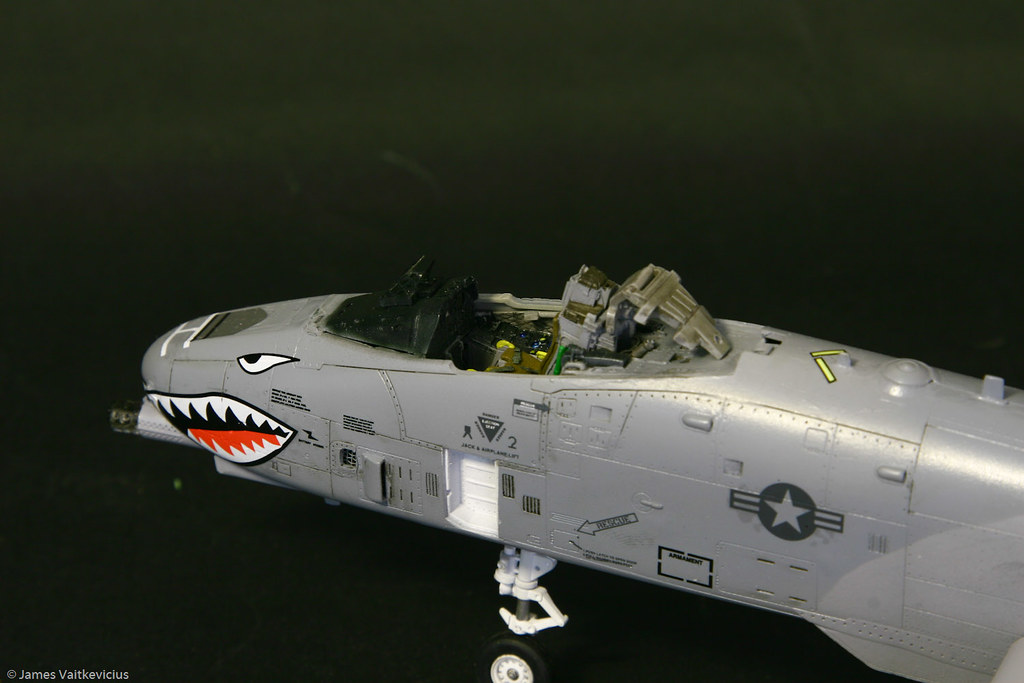
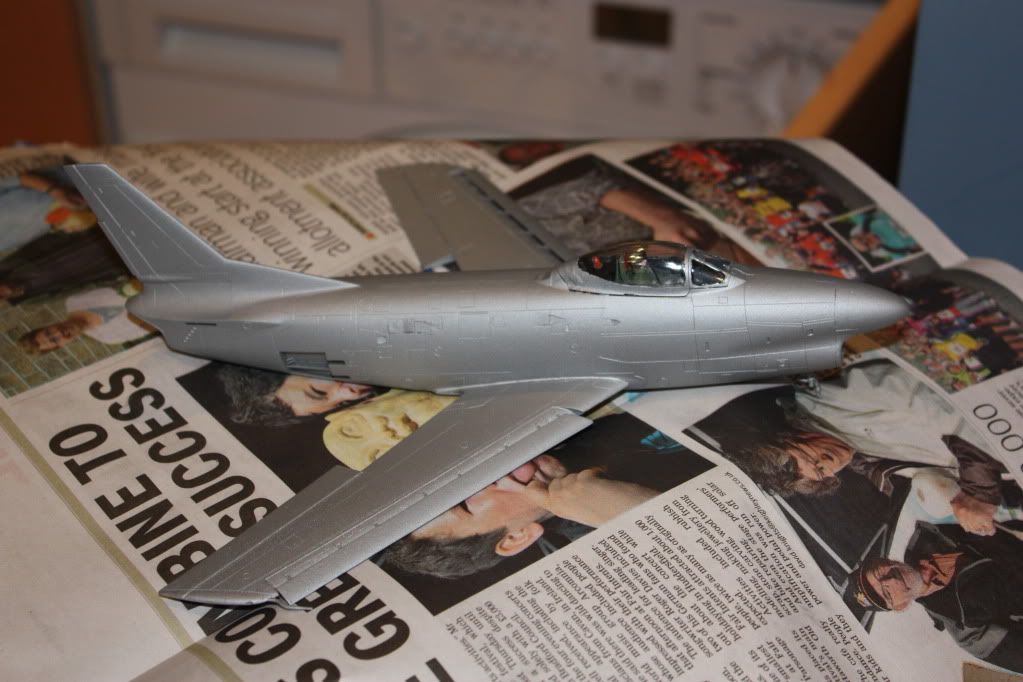
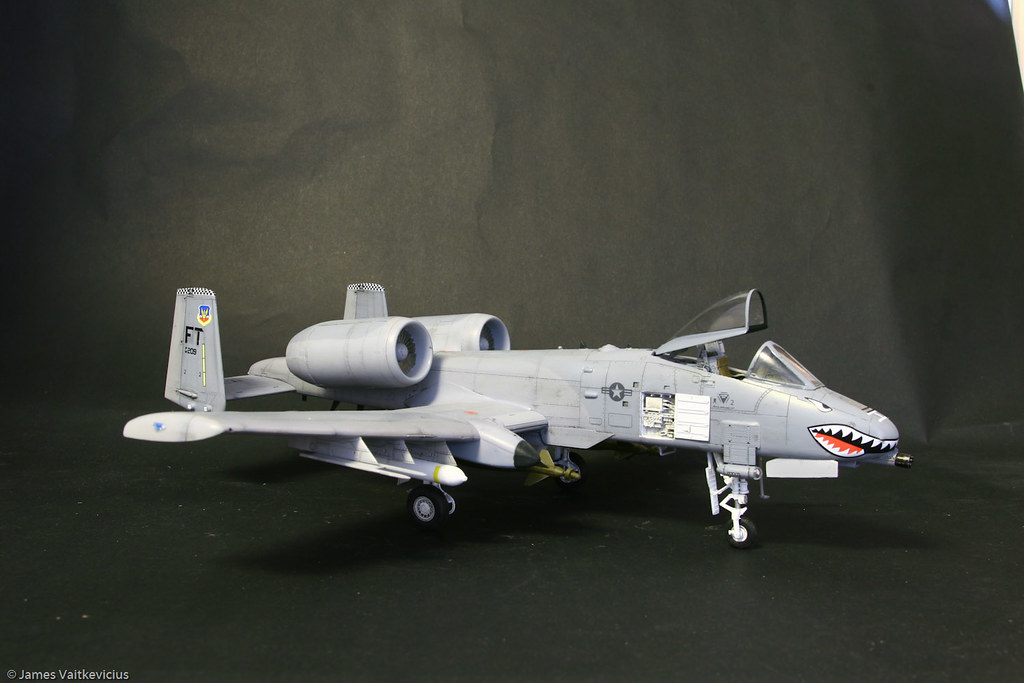
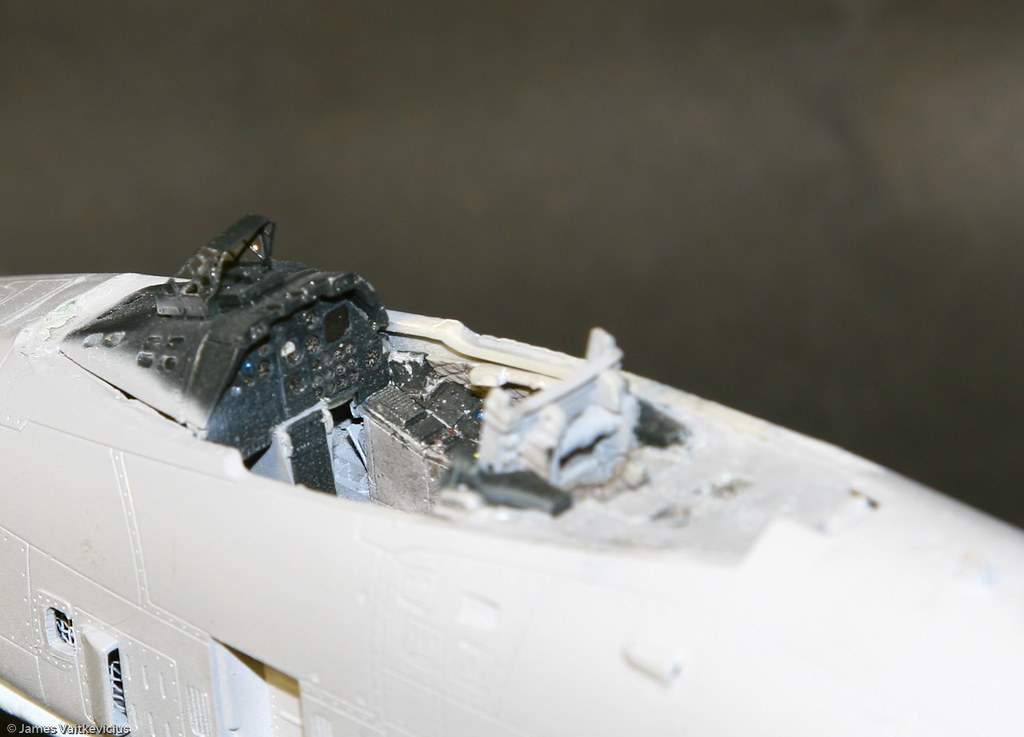
Also a quick look at the console going forward as I noticed I missed this before. I know I have a bit of overspray to clear up but this is a simple 2 minute job!
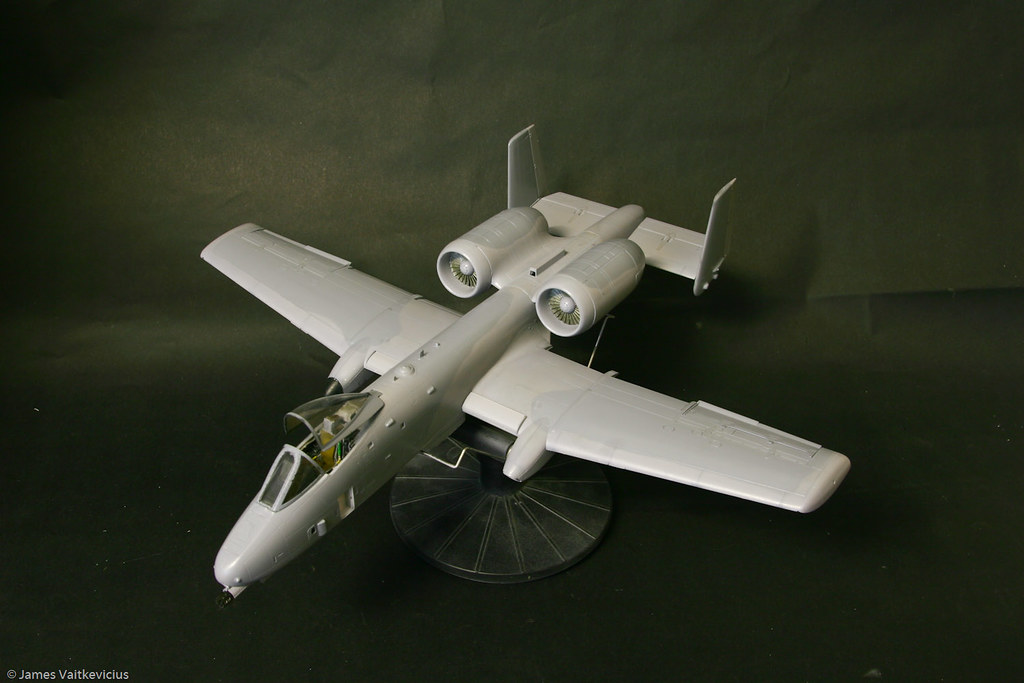
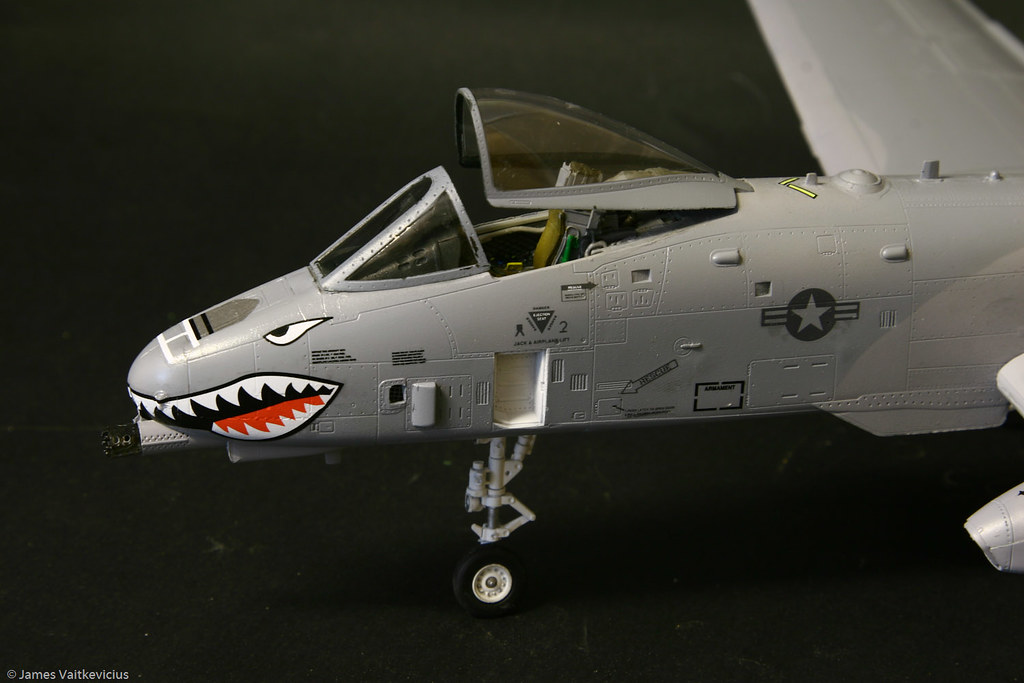
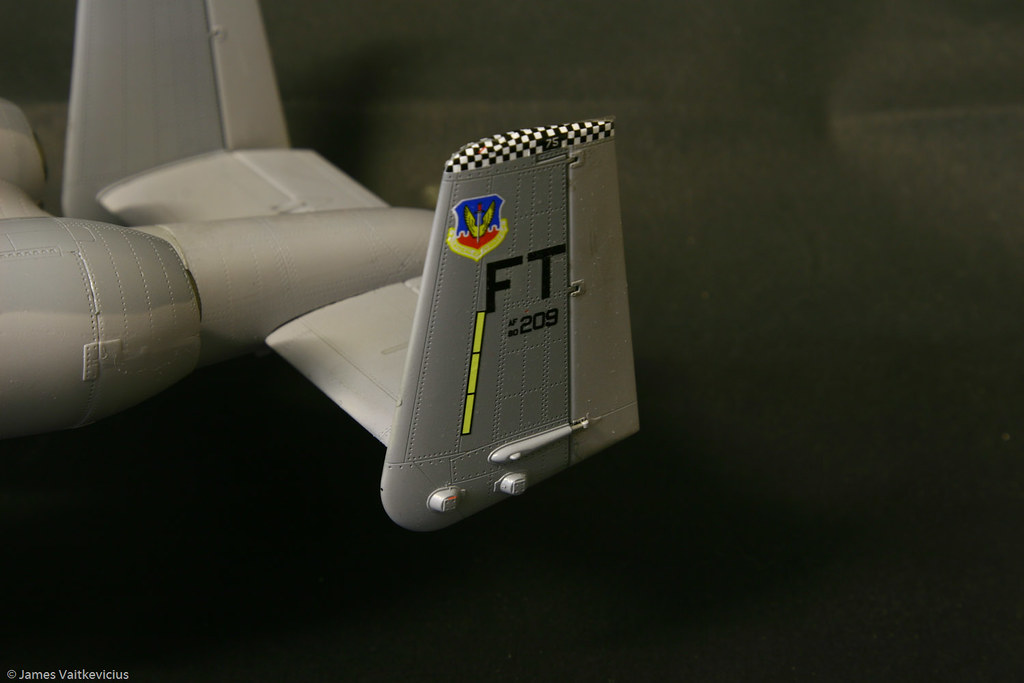
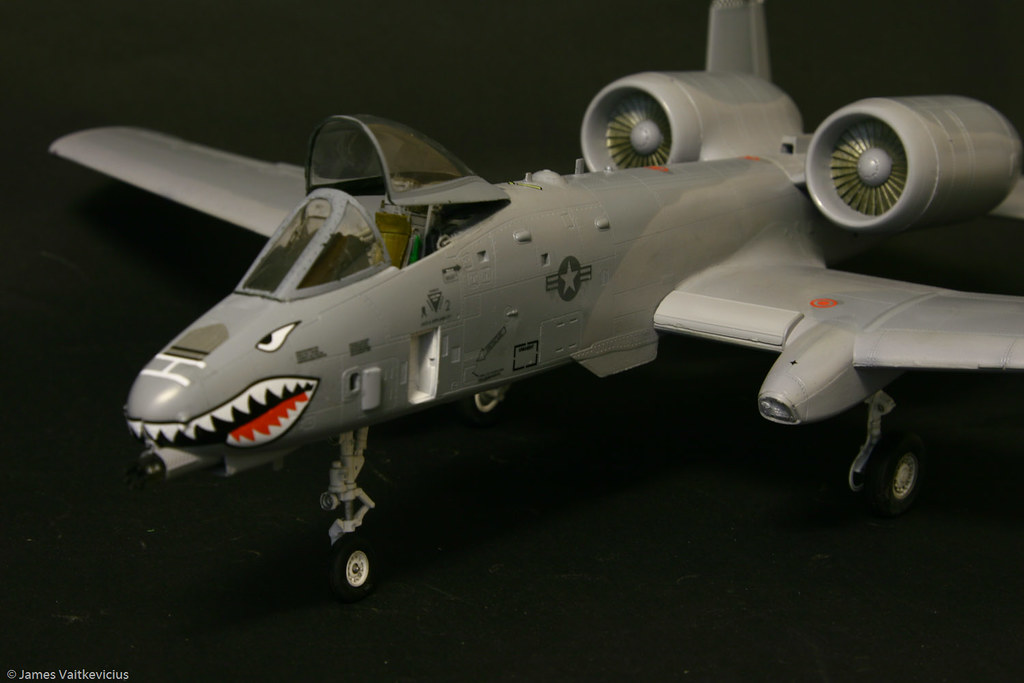
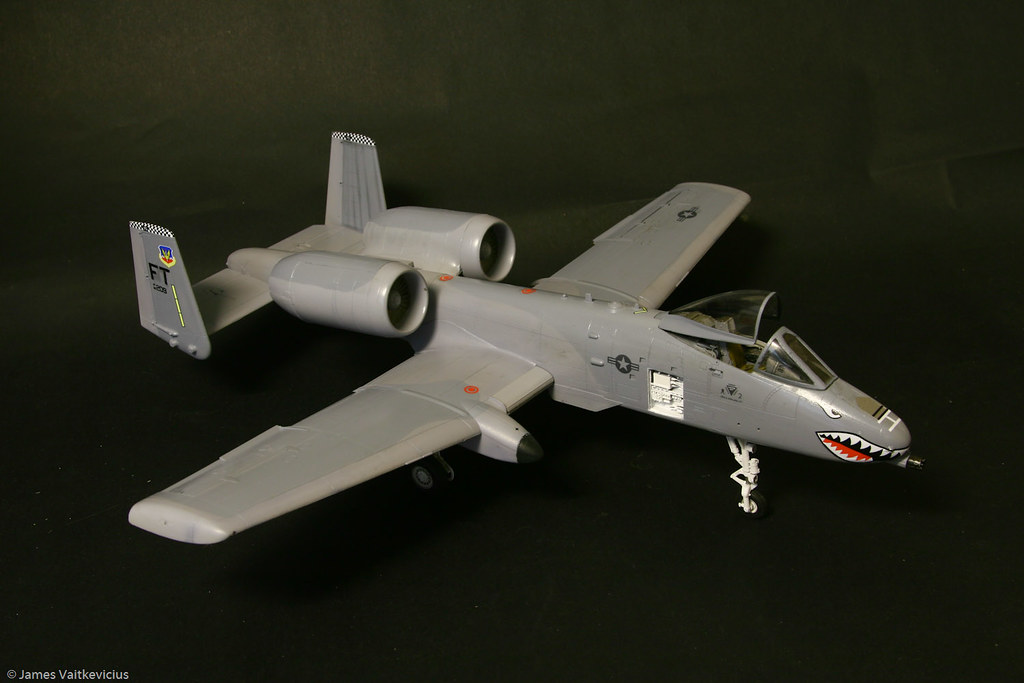
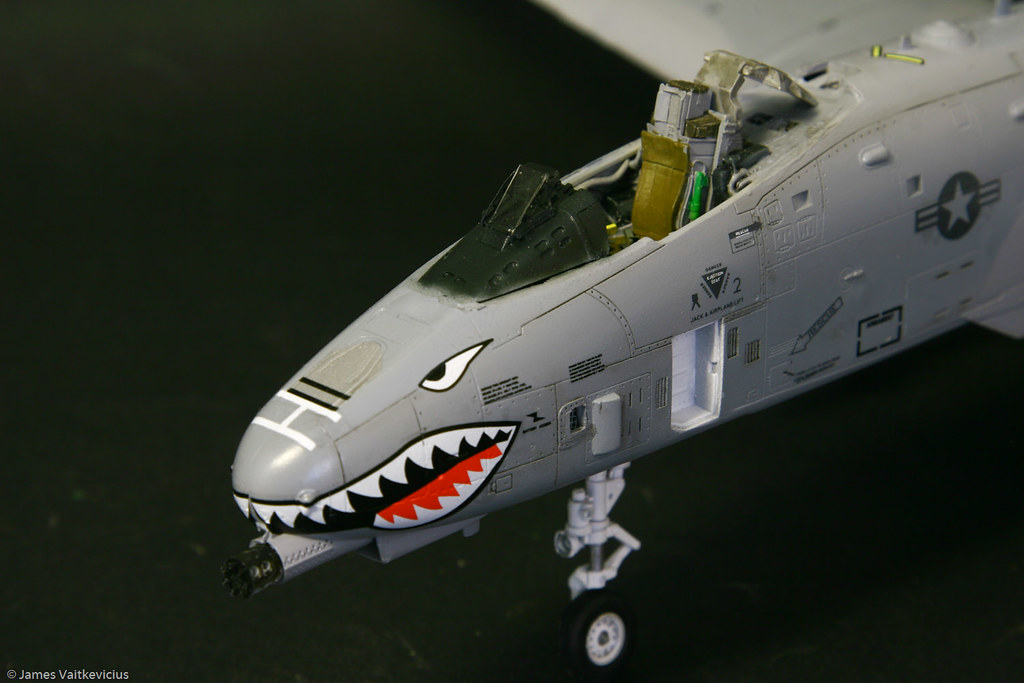
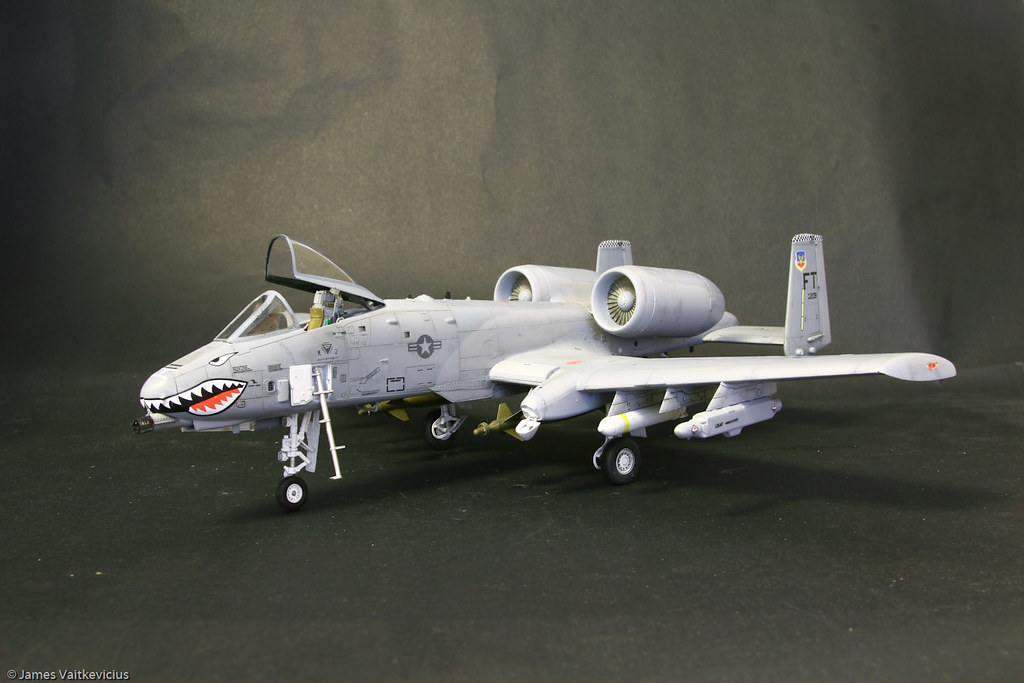
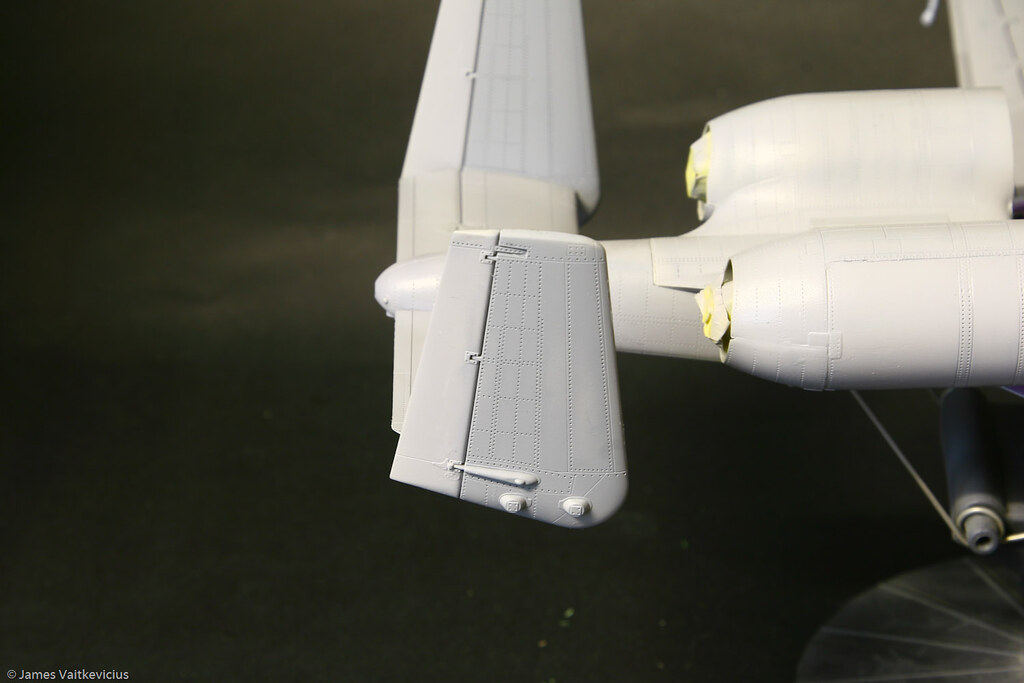
And this is where I am tonight!